This shop has been compensated by #CollectiveBias, Inc. and its advertiser. All opinions are mine alone. #PlanesToTheRescue
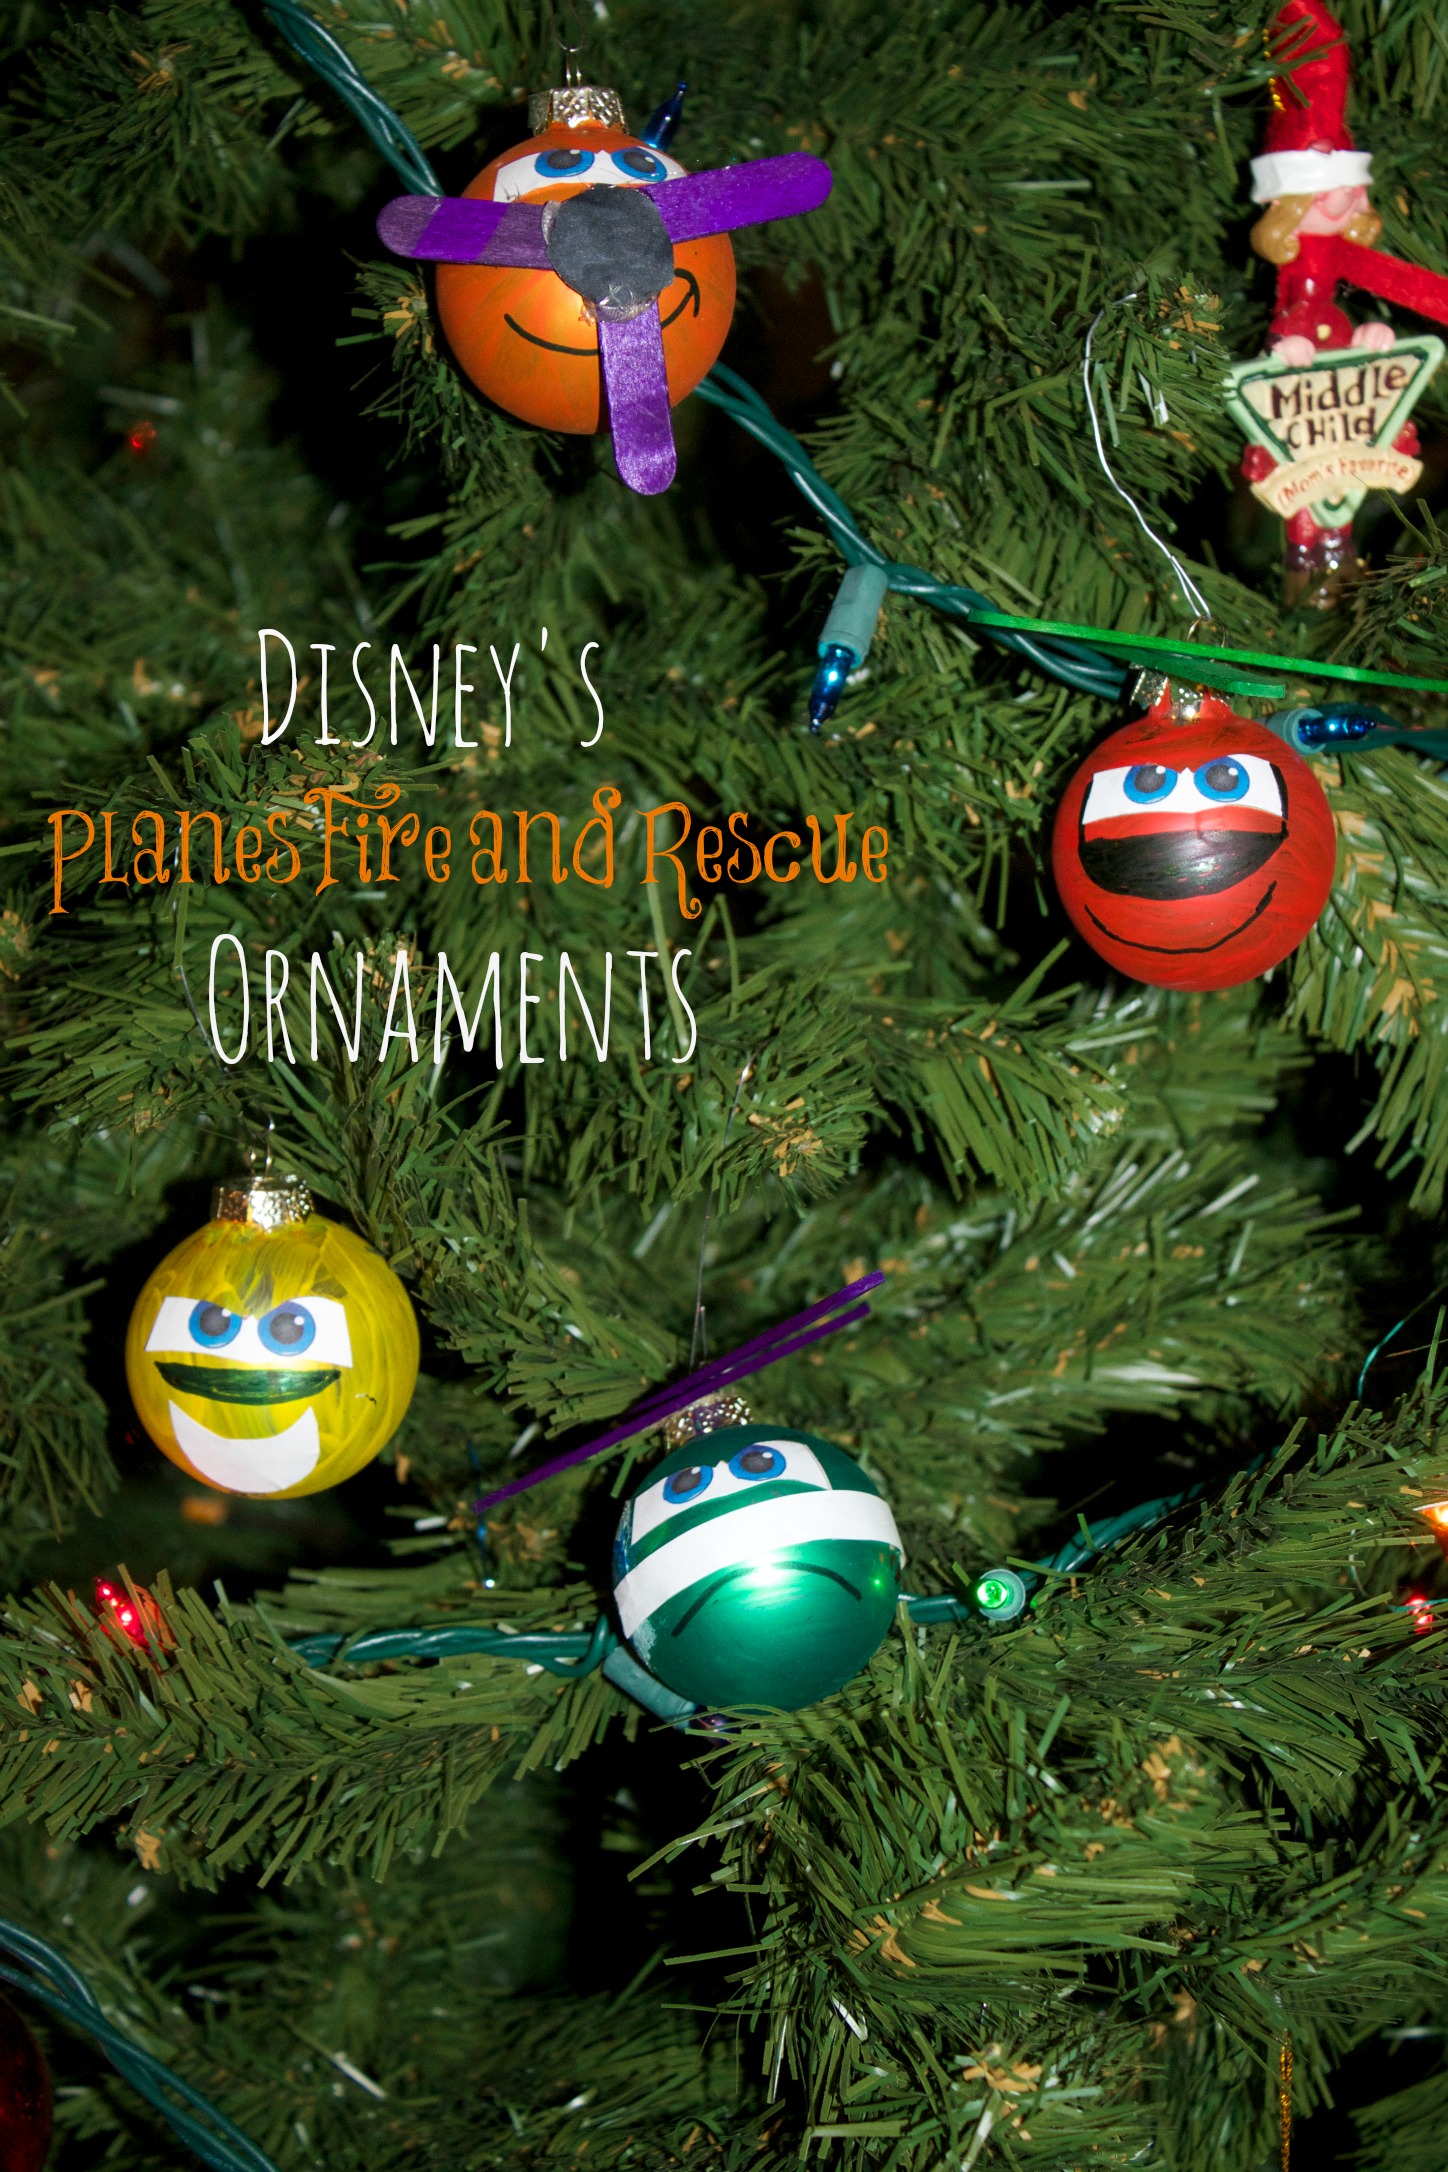
Today officially starts the first day of Christmas break. This is an exciting time for the kids but for me, well let’s just say I’ve got my work cut out for me. Don’t get me wrong I love having my kids home with me during the day. But after a few days they get bored pretty quickly and I’m stuck trying to find things for them to do. This holiday break I have decided to help pass the time, we’ll be making lot’s of crafts. Crafts are not only fun but it gives our family some quality time away from TV and other electronics. Our first holiday craft was the Planes Fire and Rescue Characters ornaments.
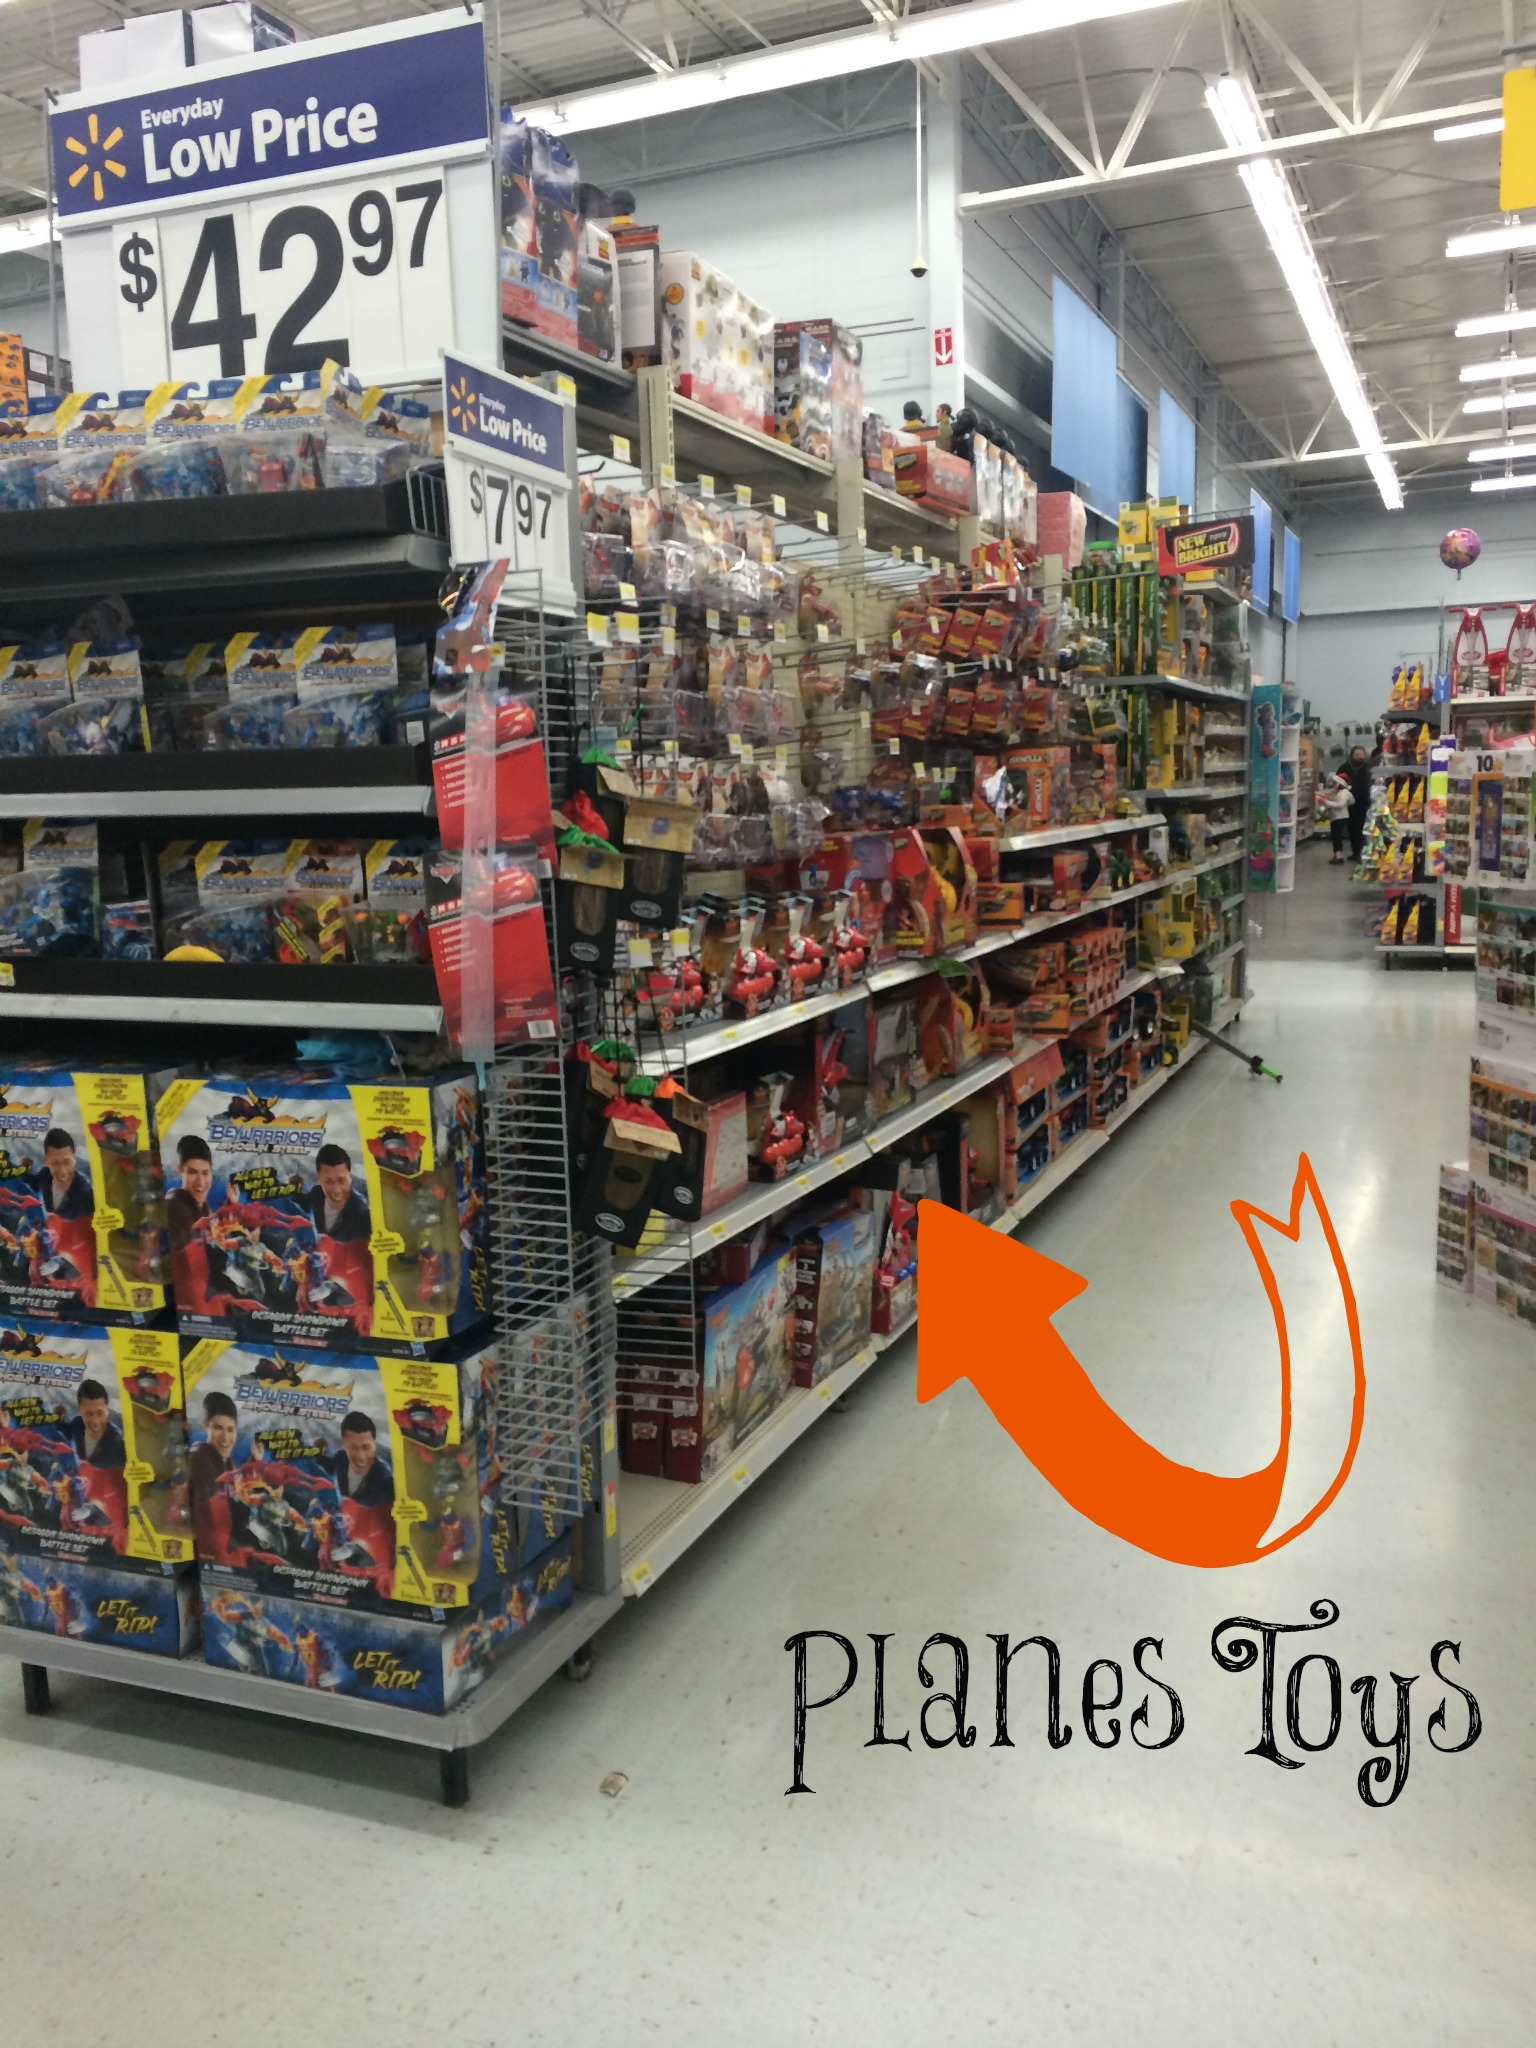
I came up with the idea while I was finishing up my Christmas shopping at Walmart. I was in the toy department and noticed that the Planes Fire and Rescue toys were on rollback. My kids have always been a fan of the Planes Fire and Rescue Characters so that got me thinking of how fun it would be to create some ornaments to go along with the Planes theme. Of course I also couldn’t resist a good rollback, so I grabbed one of the Disney Planes Fire & Rescue Die-Cast Vehicles. It was on rollback for only $14.97! Some other rollbacks included Disney Planes Flight to the Finish Speedway Rollback to $24.97 and Disney Planes Fire & Rescue Deluxe Talking Vehicle Assortment Rollback to $19.97. Those prices are too good to pass up.
Planes Fire and Rescue Characters Ornaments
The Planes Fire and Rescue characters ornaments are really easy to make. And they are easy. The craft does require some assistance from a parent, but most of the craft can be done by your child. When making this Planes craft remember to have fun. It doesn’t have to be perfect. The most important thing is that you’re creating something special with your child. Something they can look back at every year and say, “I made that”.
What you need:
- Box of Inexpensive Ornaments
- Finger Paint (Colors: Green, Red, Orange and Yellow)
Black and Blue Markers - White Paper
- Colored Popsicle Sticks
Hot Glue & Hot Glue gun - Glue Stick
Directions:
The first thing you’ll want to do is paint your ornaments. With your finger (or a paint brush) cover the entire ornament with one of the colors mentioned above. Make sure you do at least one ornament of each color. Let dry completely.
Now on a white piece of paper, have your child (or you), draw the Planes Fire and Rescue Characters eyes. The key to the eyes is making sure they are BIG. The eye will be blue on the outside and black on the inside. Make both circles big. Now cut out the eyes making sure you leave plenty of white space around them. After the ornament is completely dried, glue this eye piece to your ornament.
With your black marker, draw a big smile or frown. It just depends on which Planes Fire and Rescue Characters face your going for.
Lastly, your going to hot glue the propellers (popsicle sticks) on with the hot glue gun. Take two sticks and make an X. Hot glue them in the center. Let dry completely and then hot glue the propellers to the top of the ornament and the front. Make sure you leave enough room to attach a hook, to hang on your tree.
We had such a great time doing this craft! I think making character ornaments will be a yearly tradition for us. It was easy to do, inexpensive and I think the Planes Fire and Rescue Characters ornaments add a fun element to our tree.
Now that I’ve shared some of the things my family will be doing this Christmas. I’d love to hear about what your family is doing. Leave a comment sharing what you’ll be doing over the Christmas break.


