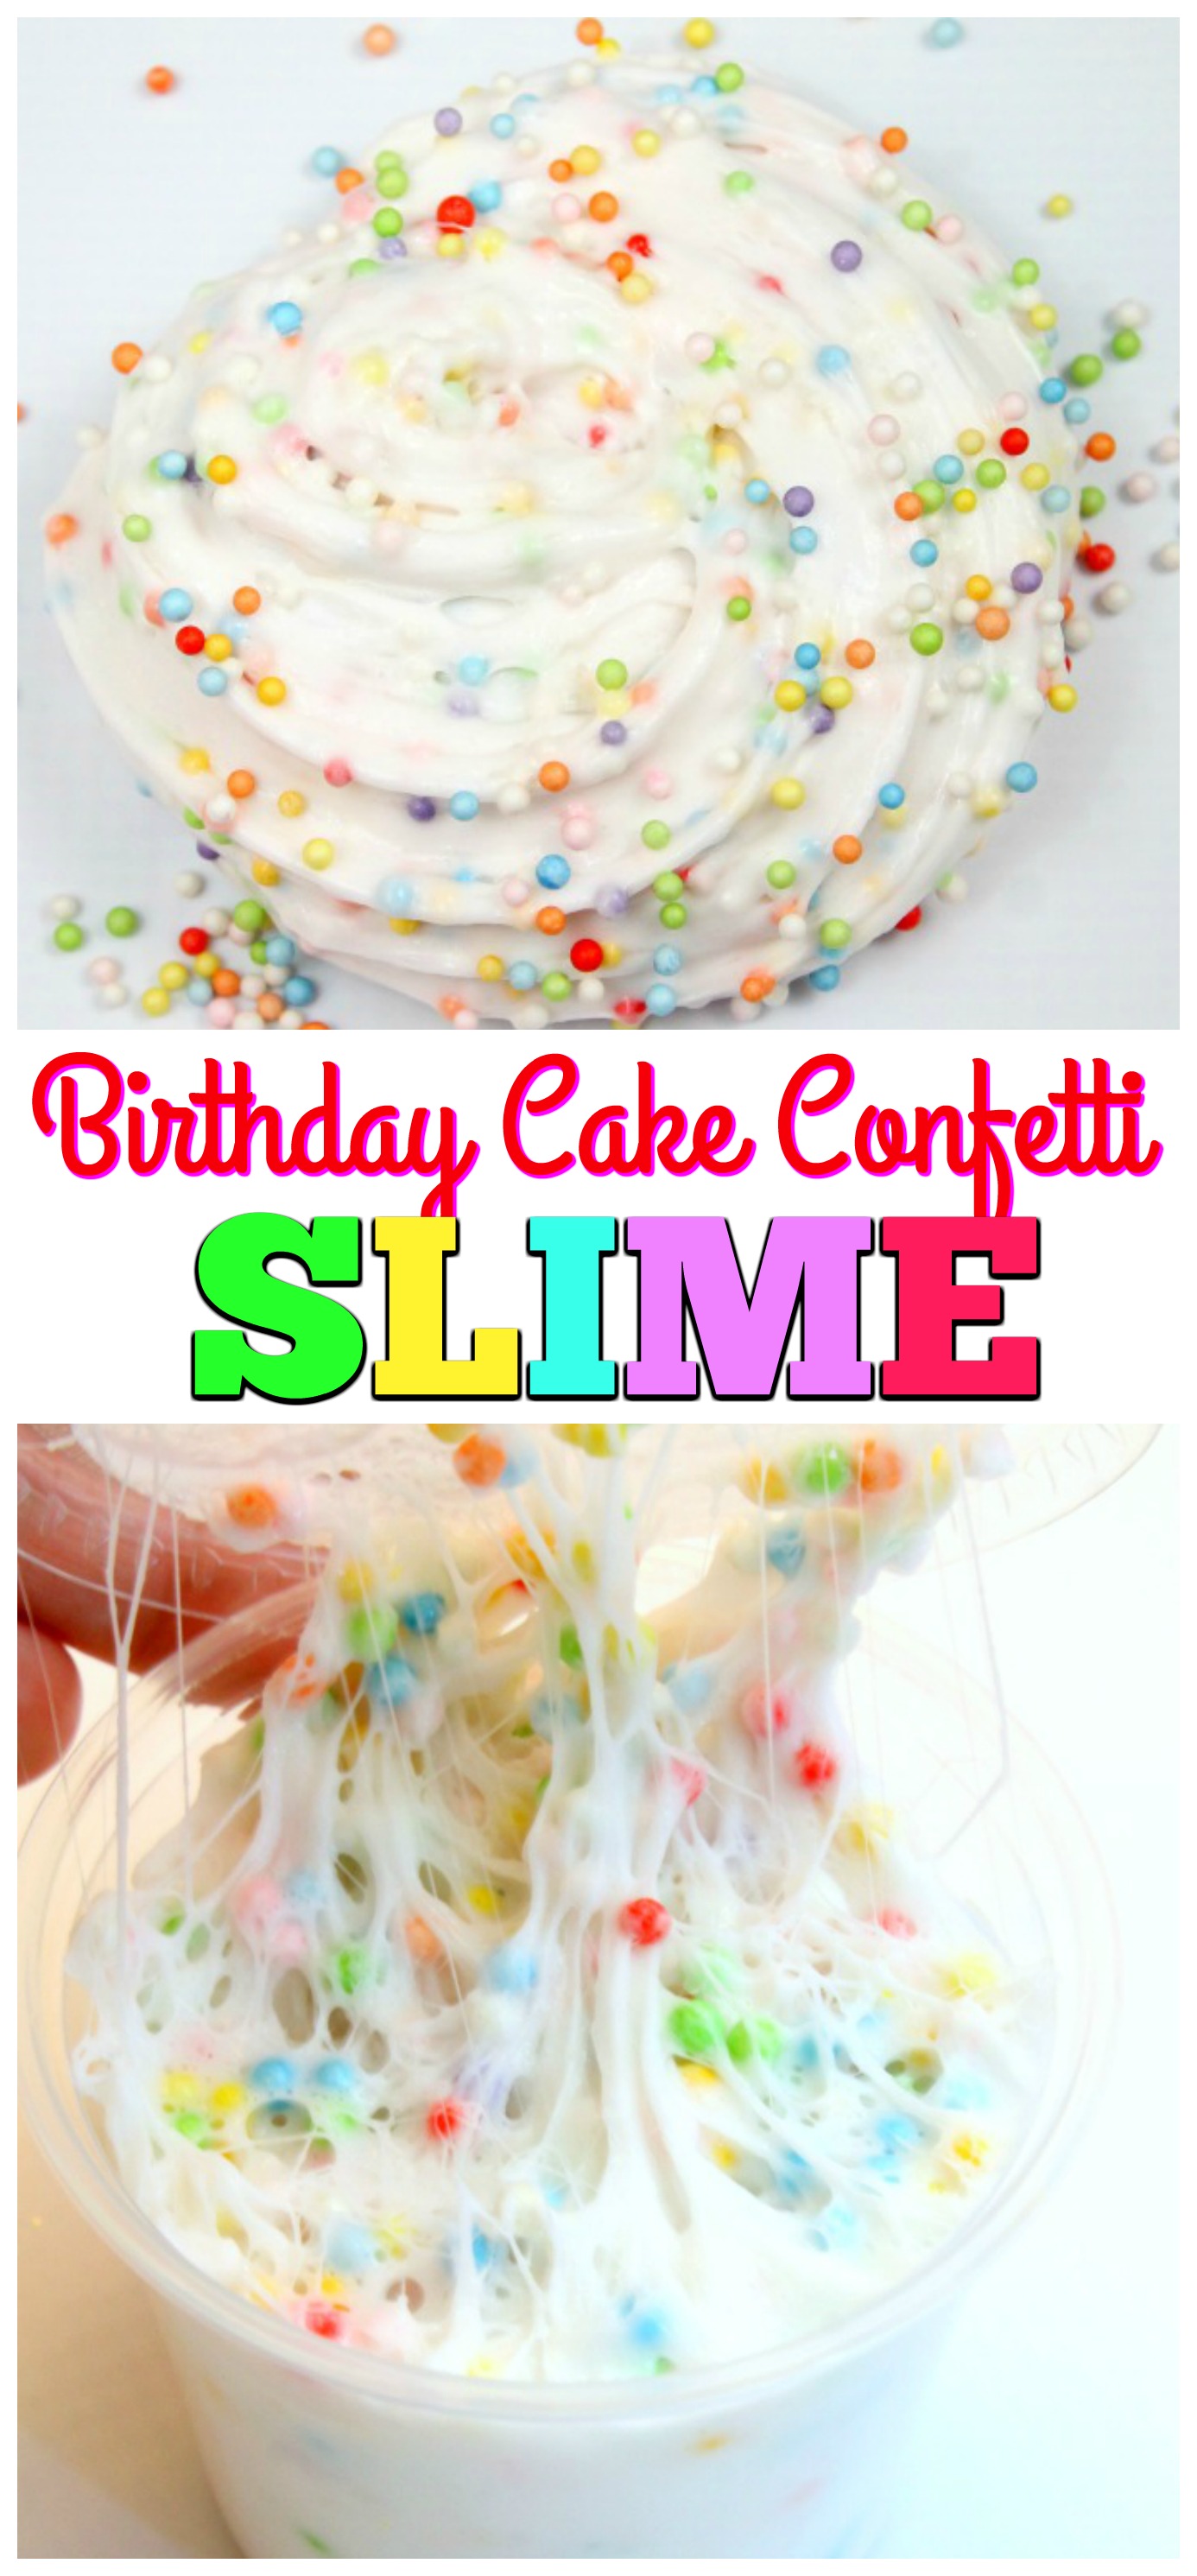
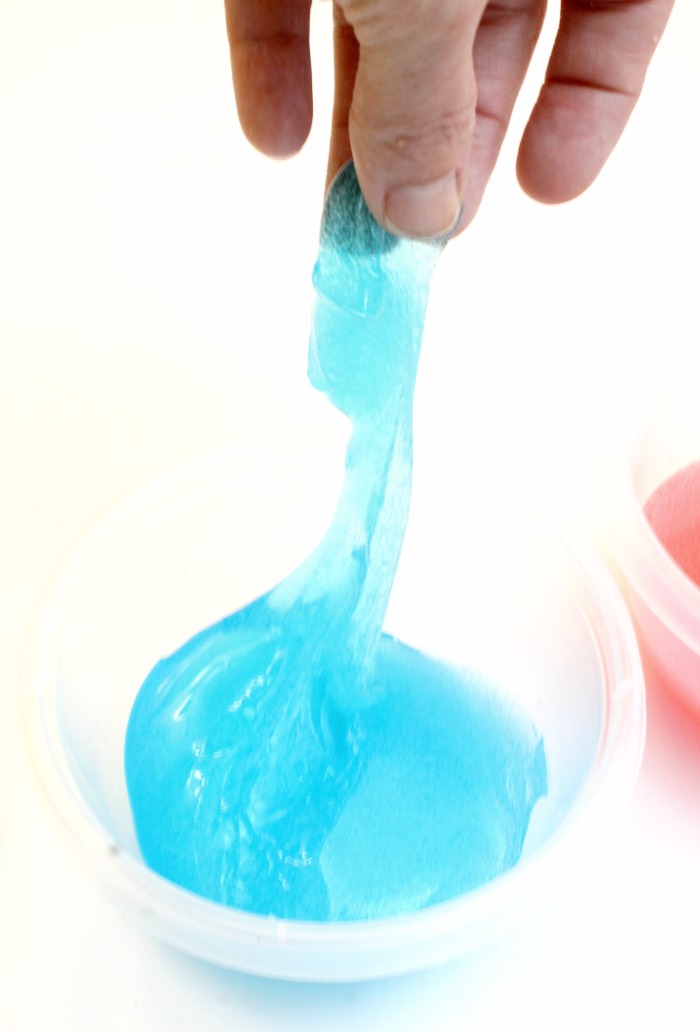
Neon Slime is so much fun to make. The colors are bright and vibrant and when you combine them together you get a super cool slime. You can do all kinds of things with Neon Slime. Including adding in glitter, confetti, sprinkles or even making a neon avalanche slime.
My kids and I have been obsessed with making Avalanche slime lately! What makes avalanche slime so unique is that the pattern you get when the avalanche settles into the slime is never the same. It’s an amazing effect and I think that’s why so many people love this kind of slime and want to know how to make avalanche slime. Since you can make this with different colors and batches, each one is going to look totally different. We recently made a neon slime and decided to test these colors out and make a neon avalanche slime recipe. The results were AMAZING!
Neon Slime Is SO FUN TO MAKE!

What is Avalanche Slime
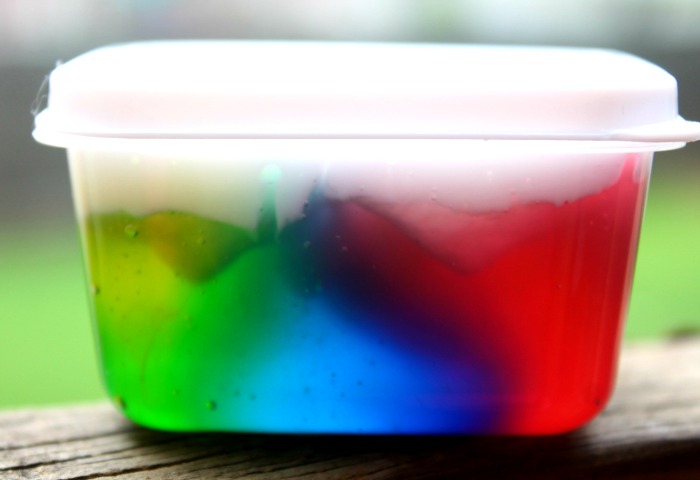
Avalanche slime, which is also know as snow store slime is a clear slime that is combined with white slime to make a “avalanche” type effect. When the white slime is allowed to sit for a period of time it starts to “fall” into the colored slime making it look like it’s snowing inside the clear slime. It’s really cool to watch it happen.
How to Make Neon Slime
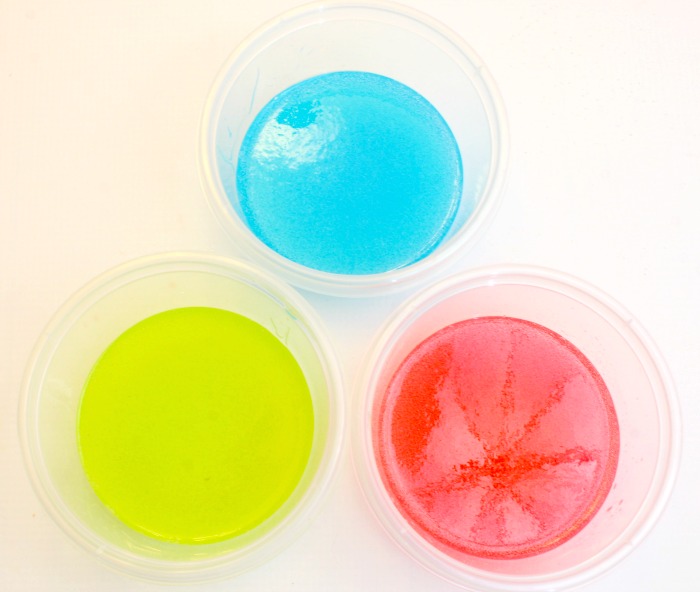
Our avalanche slime recipe is super easy to make. You will need to make 2 different kinds of slime. The first will be your clear slime base. I have a very easy clear slime recipe you can use to make this. Once you make this clear slime you will need to separate the clear slime into 3 different batches. This is where you will add In your neon colors. I bought my neon food coloring at Walmart in the baking aisle but you can get them at any grocery store or even online if you’re having trouble finding them.
You will also need to make basic slime recipe using white glue. You won’t add any colors to your slime you will keep it white. I have an easy to follow how to make slime recipe you can check out.
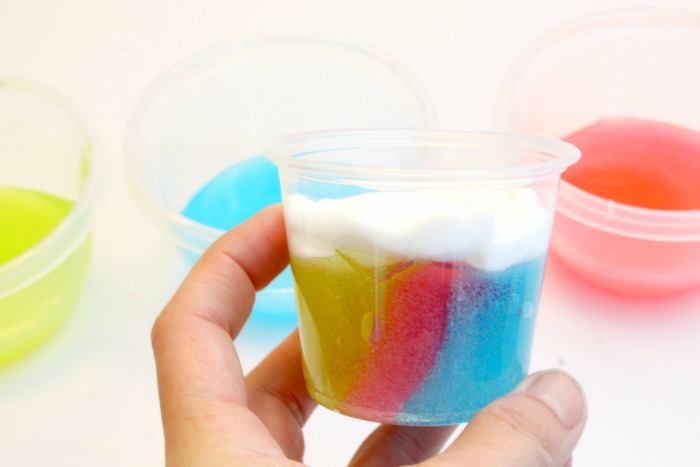
Once you have your slime made not is the fun part! Making the avalanche slime. I used 3 different colors for my base which were yellow, blue and red. You can use any color that you like. I just thought these colors really looked fun and bright .
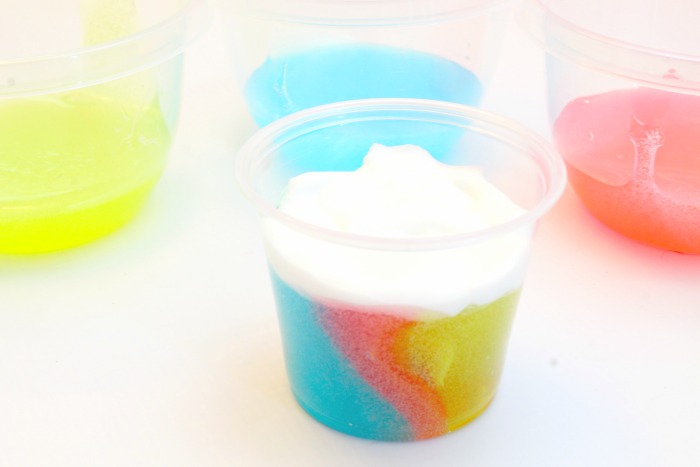
You will need a small container to make and store your avalanche slime in. I just used 6 ounce plastic containers like these. Working quickly, you will want to layer each color into the cup. It can sometimes be tricky to get the slime to not settle at the bottom so that’s why you have to work quick. You can always push the slime to the side with your finger so there is room for the next color.

Make sure that you leave room at the top for your white slime. This is what is going to give the avalanche effect. After your base colors are in the cup now put a layer of the white slime on top. You want to cover all sides of the top of the slime making sure that it’s pushed down slightly. I will sometimes GENTLY push down on the white slime to make sure there are no air bubbles.
When does the Avalanche Effect happen?
After you have made your slime you are going to put the lid on and set it aside. It takes time for the avalanche effect to happen. For me I usually see the avalanche start to happen by the next day. But the longer you let it sit the better effect you will get with your avalanche slime. While your waiting make sure you don’t open the lid or touch it, though. This will mess up the effect.
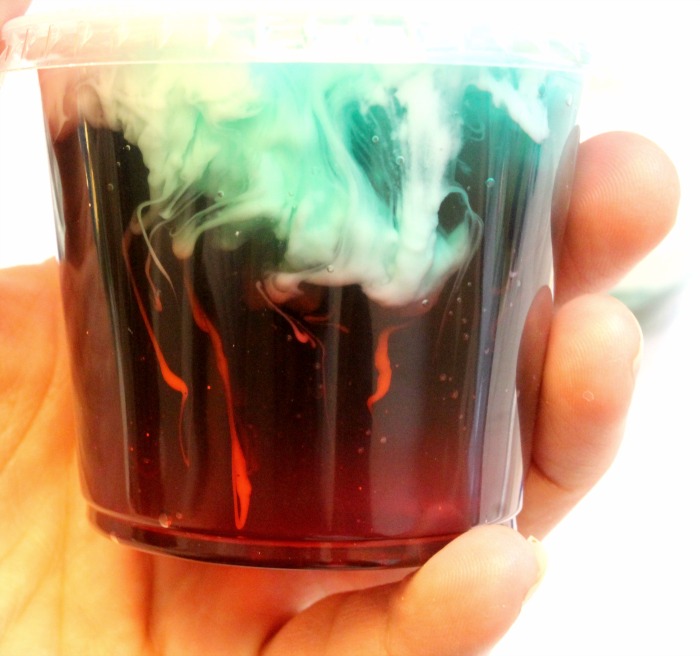
Once the slime as set for a day or two it will start to look like the picture below. The avalanche slime below is darker because I used a dark red colored slime for my base. With the neon avalanche slime it won’t be so dark. But you get the idea on how the effect will turn out.
Storing your slime
if stored right slime can stay good for weeks. You want to always make sure you wash your hands before and after playing with slime. This will keep dirt and other gross stuff out of your slime.
Once your done playing with your slime, place it in an air tight container with a lid and put it away for next time. You can also use a plastic bag if you don’t have a container.
How to Make Clear Slime Video
Avalanche Slime Ingredients
Borax Powder (found in the laundry aisle)
Elmer’s Clear Glue
Elmer’s White School Glue
Neon Food Coloring
Water
Plastic containers with Lid
Bowl, Spoon, Measuring Cups
Here are more easy slime recipes to check out.
How to Make Avalanche Slime with 3 Ingredients