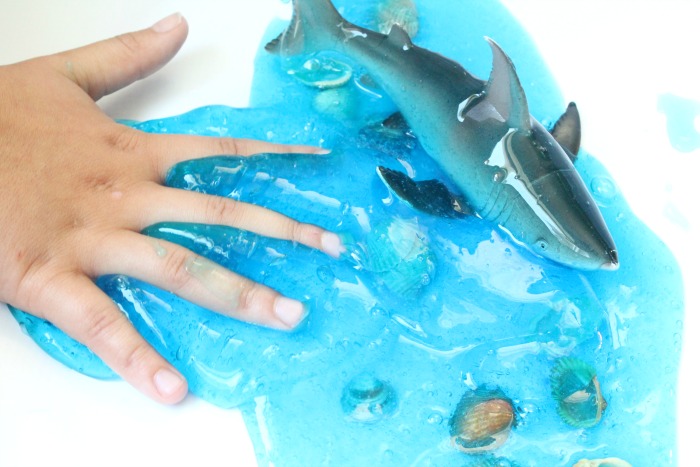
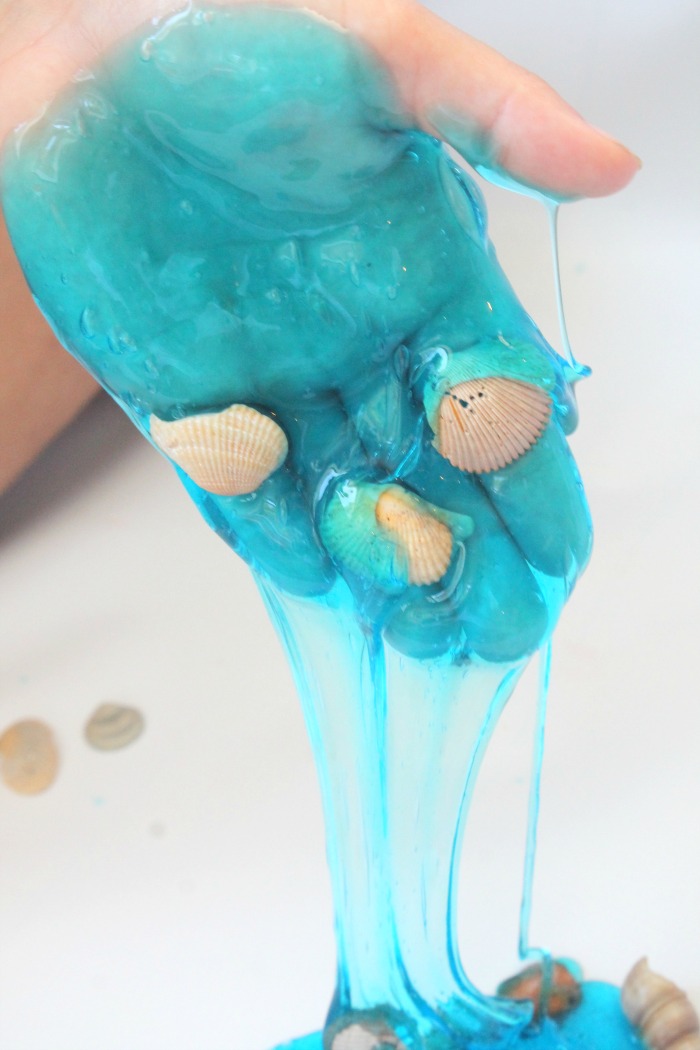
It’s that time of year again so we decided to bring together two of our favorite things, shark week and slime, and make DIY Shark Slime! And trust me, your kids are gonna love this slime.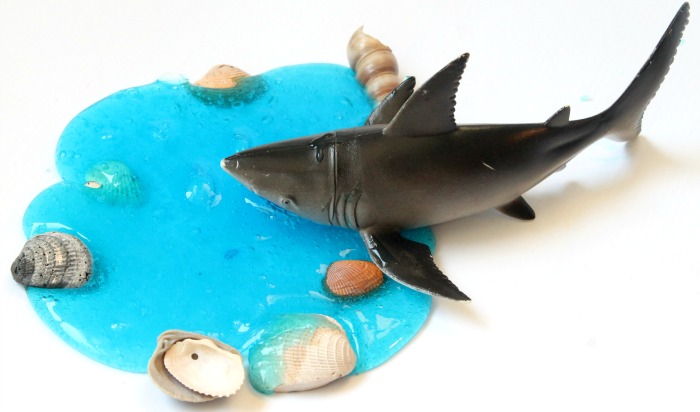
There’s so many awesome things about summer but one of the things that our family looks forward to is SHARK WEEK! Shark Week is one of those things that only comes around once a year. And I know we’re not alone in our enthusiasm for this very special week dedicated to sharks. That’s all I’ve been hearing about for the past few days on Facebook.
Make DIY Shark Slime For Shark Week
So to make this shark slime you are going to need to make a clear glue slime recipe first. Here are the supplies that you are going to need.
TIP: Here is where I get my clear glue which is cheaper than in stores.
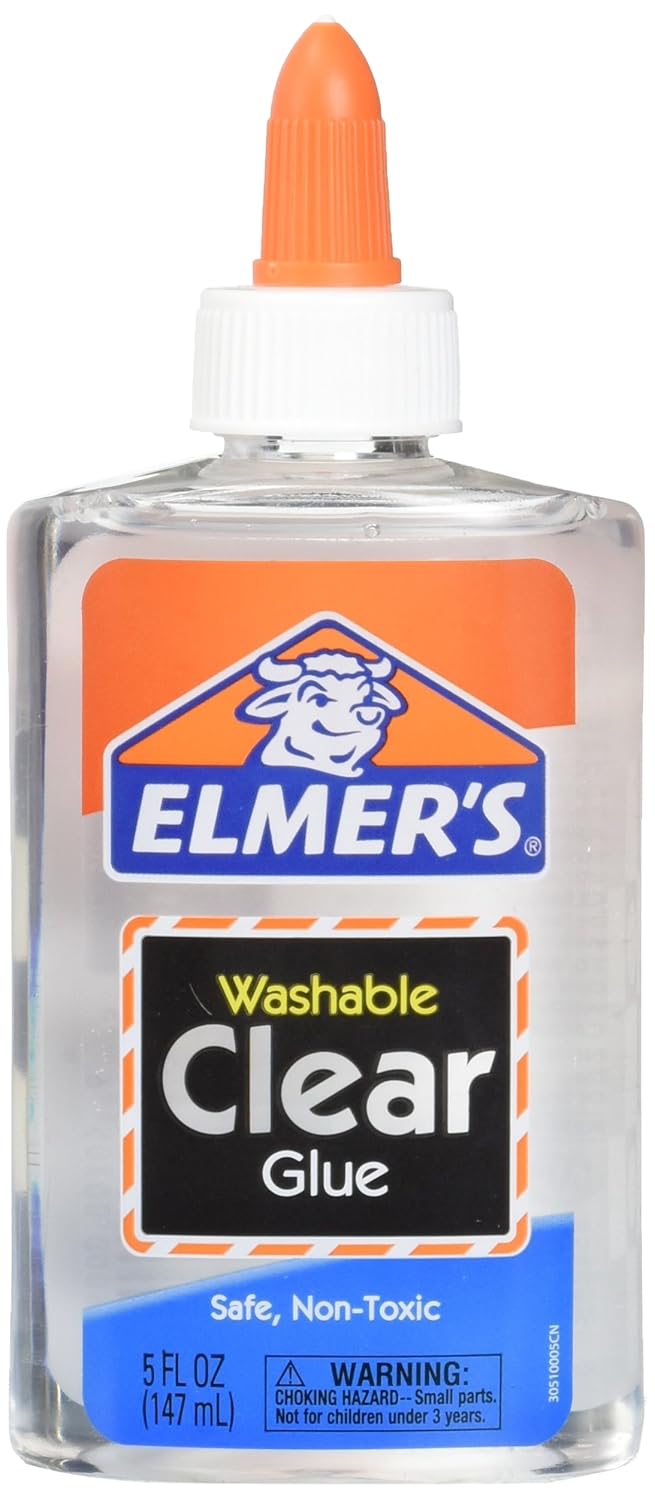
- 1 Cup of Clear Elmer’s Glue
- 1 Cup of Warm Water
- 1 Teaspoon Baking Soda
- Contact Solution
- Blue Food Coloring
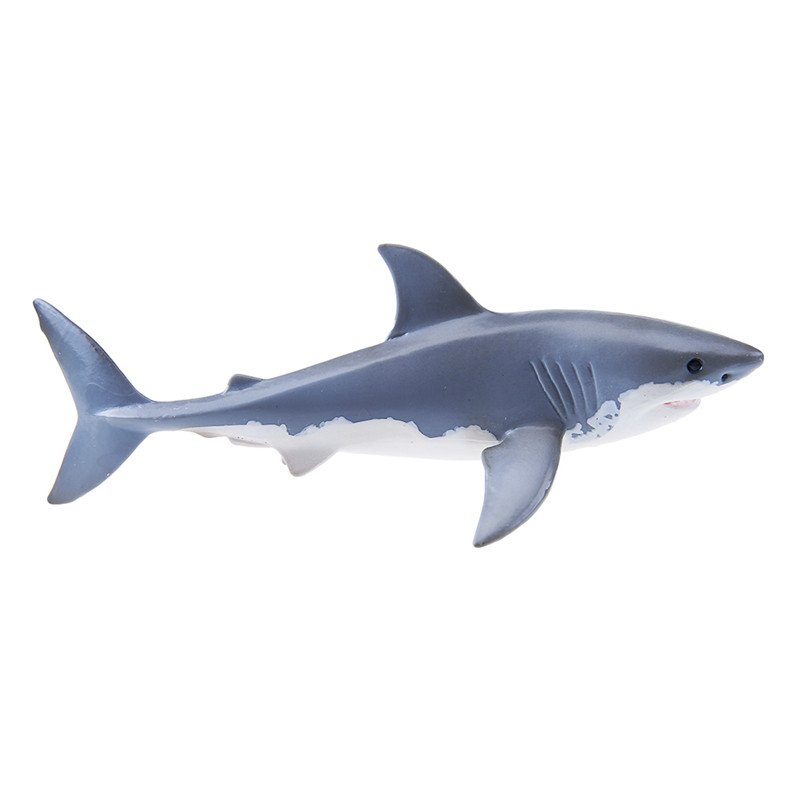
- Plastic Shark
- Fun Ocean accessories like Seashells
Clear Elmer’s Glue Baking Soda
 Contact Solution
 Plastic Shark
 Seashells
 Food coloring
How to Make Clear Slime For Shark Slime
So the first thing you are going to have to do to make this fun shark craft is make your clear slime. It’s super easy to make clear slime. However, to make SUPER CRYSTAL CLEAR SLIME you’ll need a little patience and time. So let’s make slime shall we? The first thing you’ll need to do is pour your entire bottle of clear glue into a bowl. This is going to be around 1 cup. Next add in 1 cup of warm water. Mix well but try not to mix too much. The more bubbles you create the longer you’ll have to wait to get crystal clear slime.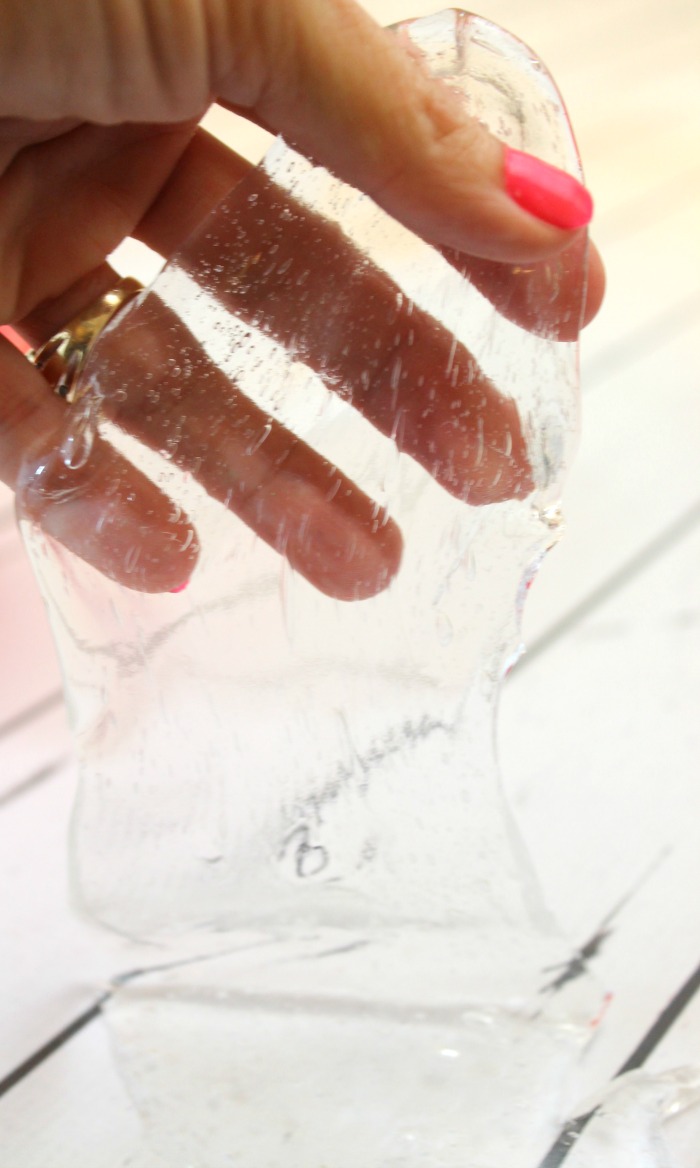
Next add in around 5-10 drops of blue food coloring, depending on how dark you want your blue color to be. Stir this in well, but again try not to over stir your glue. Now the fun part! You are going to add in your 1 tsp of baking soda and mix it well into the glue mixture. Now start squirting in your contact solution a little bit at at time, stirring in between squirts.
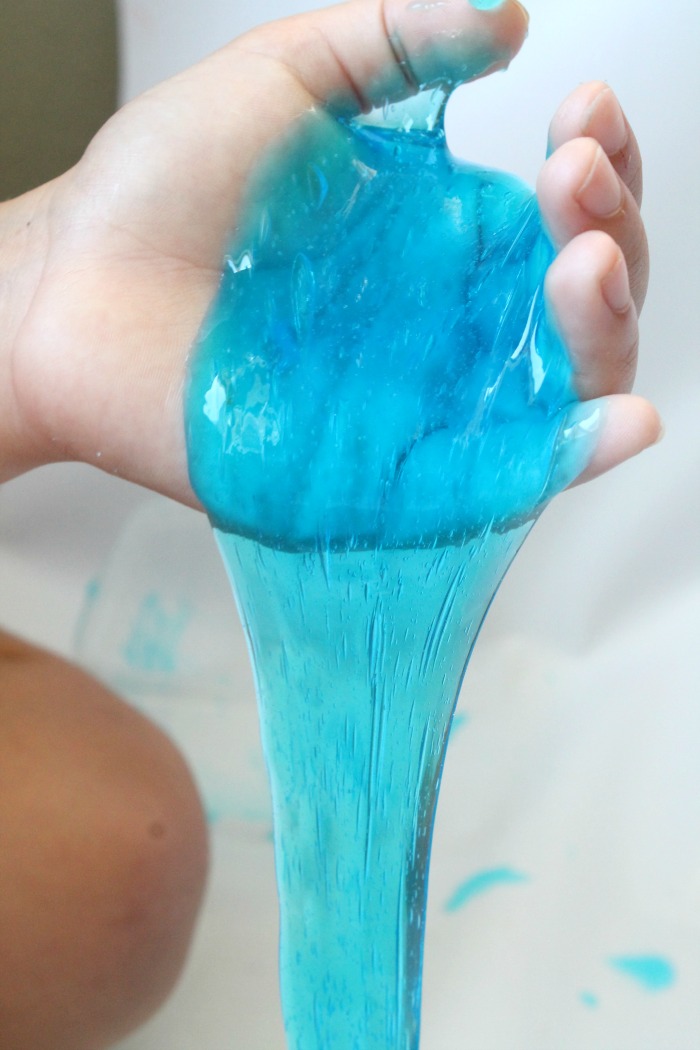
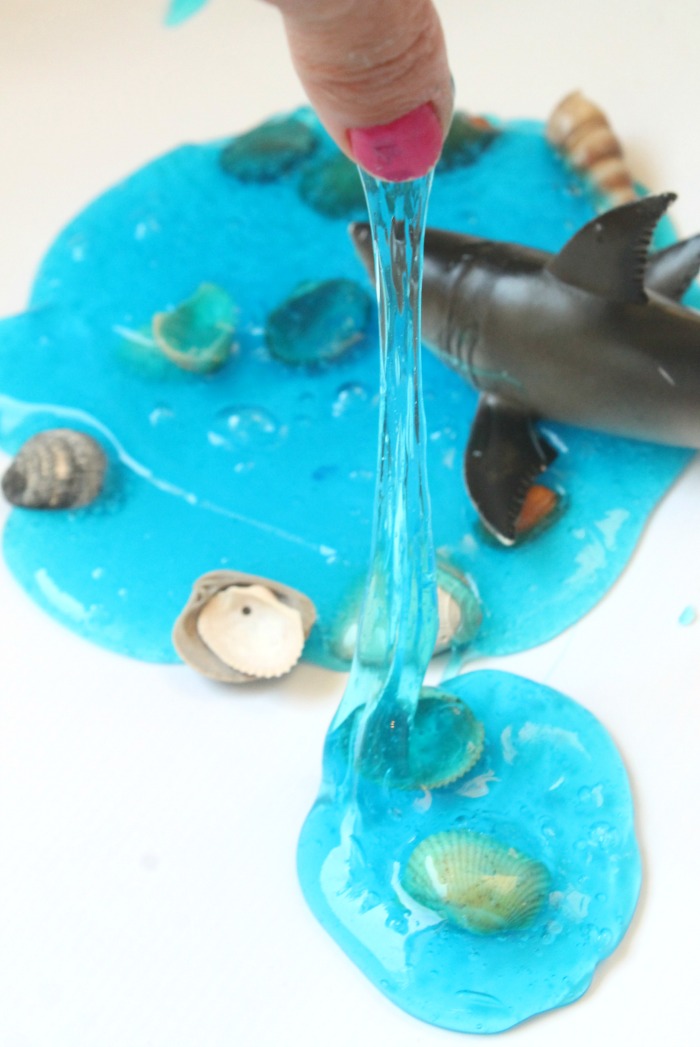
Once your slime has started to form and set you’ll take it out of the bowl and need it with your hands. You can add more contact solution if it’s sticky. Just remember to add small amounts or it will be tough not very fun to play with. After your slime is done you are going to place it into a air tight container with lid and store for a few days. The longer you let it sit the clearer it’s going to get. Letting it sit will allow those air bubbles to escape making it completely clear.
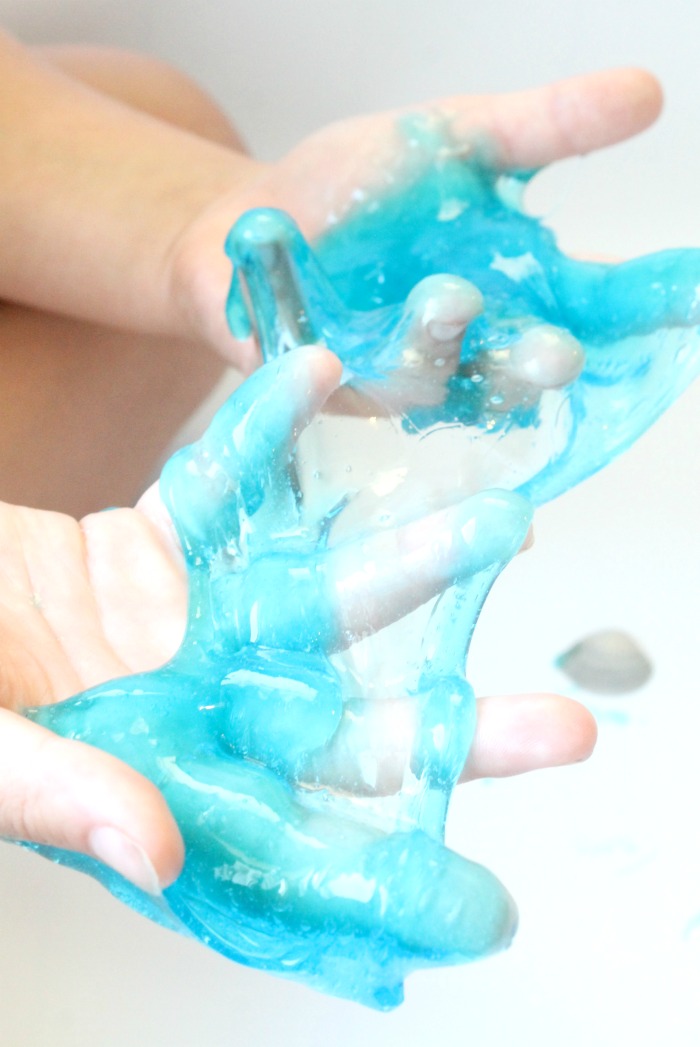
Shark Slime Makes a Fun Activity For Kids
Once your slime is completely clear, it’s time to have some fun! This is where you can add in all your fun ocean accessories like seashells, sand and of course don’t forget the Great White shark!
For an even more exciting affect we also made some red clear slime for a shark attack effect. My daughter LOVED this! Of course once you mix the colors it will turn into a purple color so make sure you have some extra blue slime. 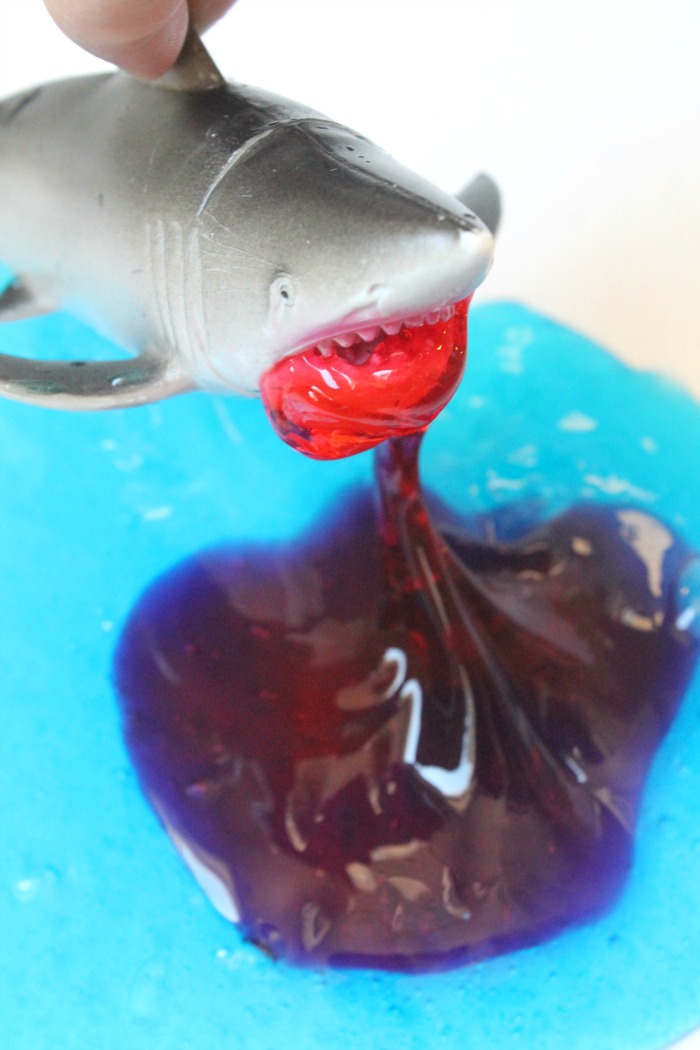
Store Your Shark Slime
When you’re done playing with your slime you can place it back into the container so you can play with it again and again.
Check out other Slime Recipes from Mom Luck.
