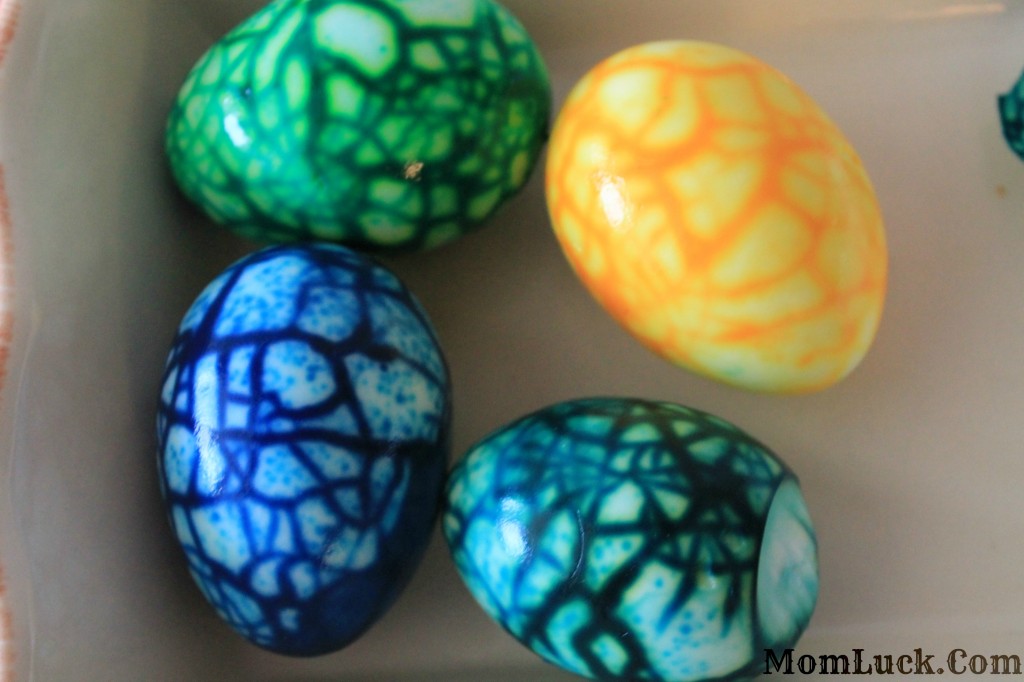
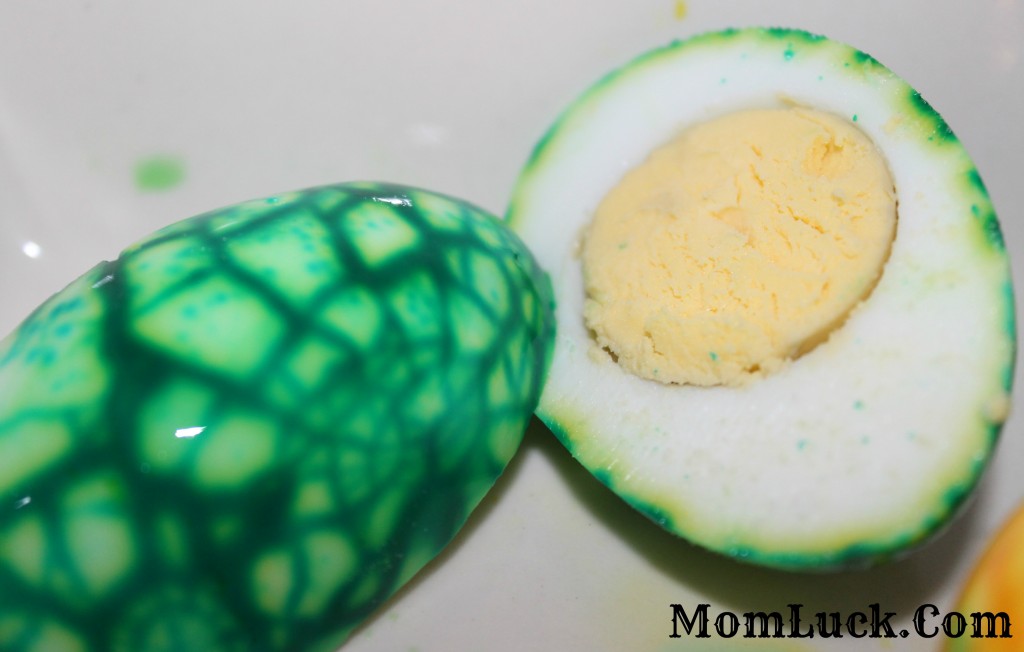
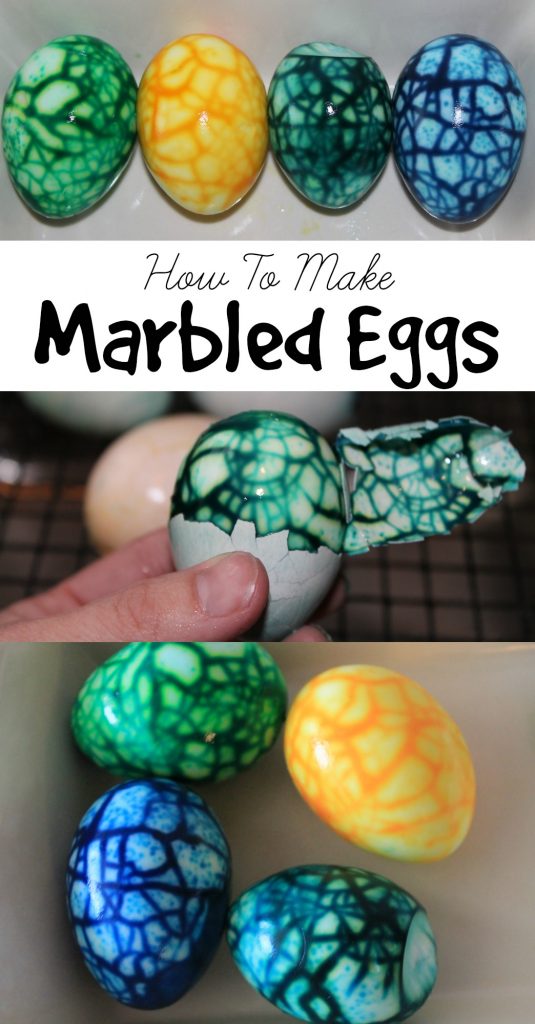
Normally for Easter my kids and I will buy a package dye set from the local store to dye our Easter Eggs. This year with Pinterest and StumbleUpon I have found so many amazing inspirations and ideas that I think we are going to use our own supplies that we already have here at home to make our eggs. Last year I came across this really cool tutorial on how to make marbled Easter Eggs and we decided to test it out. Making Marbled eggs is very easy to do and the end results are so cool! Plus they taste just the same as a regular hard boiled egg tastes, they are just a lot more fun for kids.
What you need to make Marbled Easter Eggs
-Eggs (how ever many you like)
-Liquid Food Coloring
-Water to boil the eggs
-White Vinegar
-Sandwich Bags-One for each color of dye
>>>>Check Out These Food Coloring Dyes that Are HARD TO FIND ANYWHERE ELSE! <<<<<
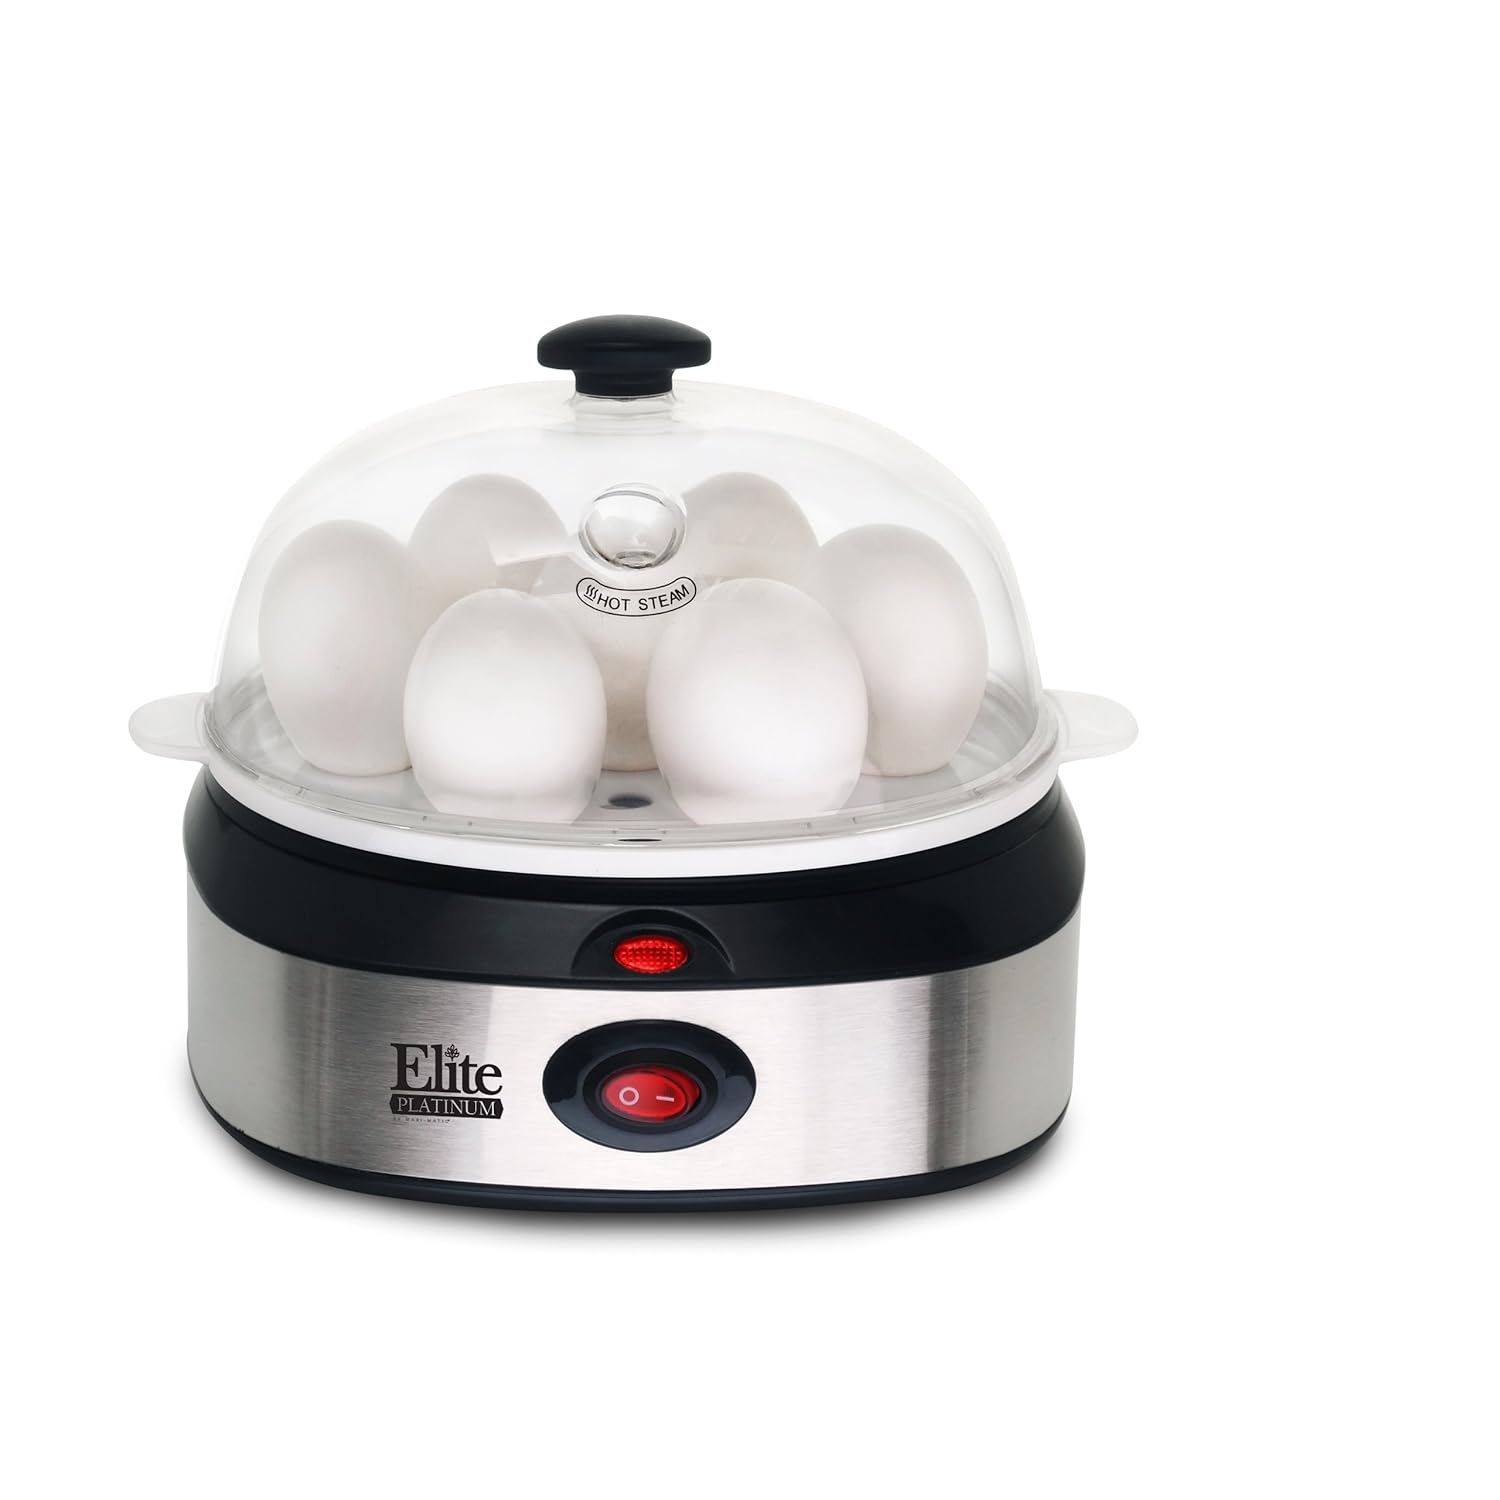
Save Time with an Egg Cooker!
Perks of an Egg Cooker include:
Elite Platinum EGC-207 Maxi-Matic Egg Cooker with 7 Egg Capacity
- Prepares up to 7 eggs at a time right in their shells.
- Cook eggs hard, medium or soft.
- Nice yellow yolks every time.
- Transparent lid with knob, egg rack with handle, poaching tray and measuring cup with built in piercing pin.
- Indicator Light and On/Off button and automatic shut-off indicator light.
- Faster than boiling water.
Boil Marbled Easter Eggs
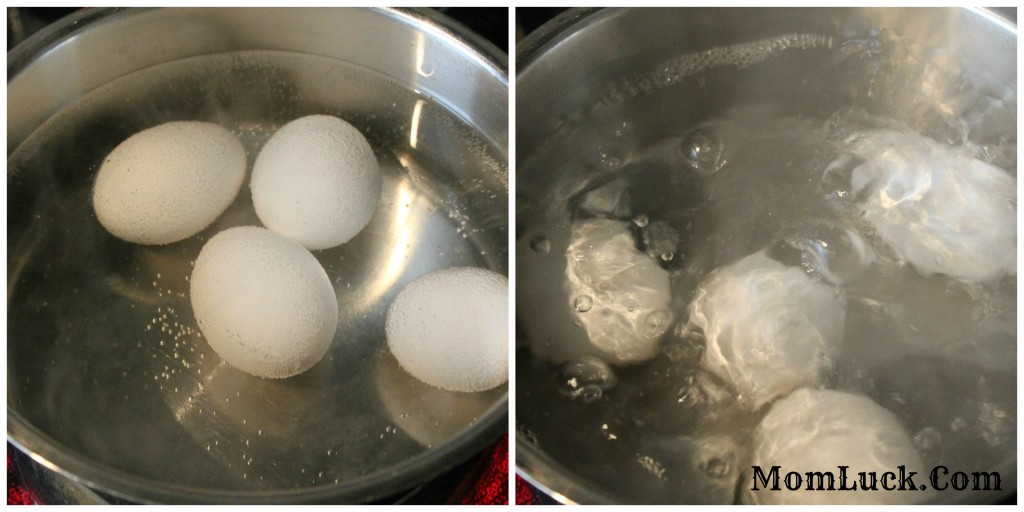
First you need to put the eggs in a pot and cover with water. Bring to a rolling boil and continue to boil for 7 minutes. Turn off the heat and let the eggs sit in the water for about 5 minutes. Remove the eggs from the water and let cool until they are easy to work with and not burn your hand. About 30 minutes.
Crack the Marbled Easter Eggs
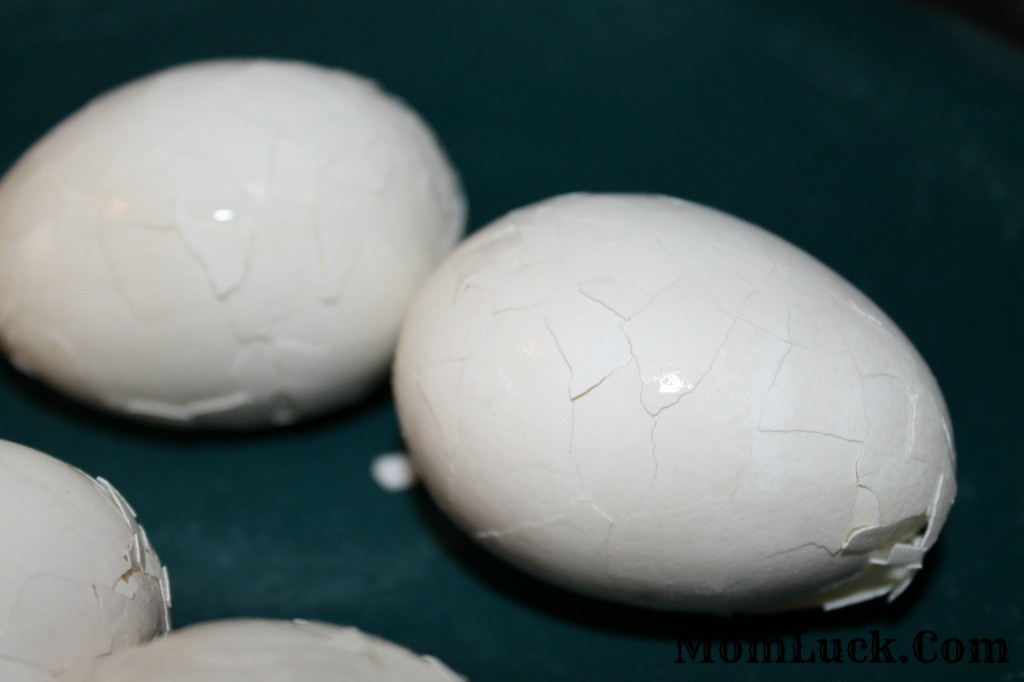
Now that your eggs have cooled down, lightly tap the eggs against a hard surface like your counter tops until there are cracks all over the egg. Make sure you don’t over do it, you want to make sure that the shell stays intact.
Color Easter Eggs with Food Coloring
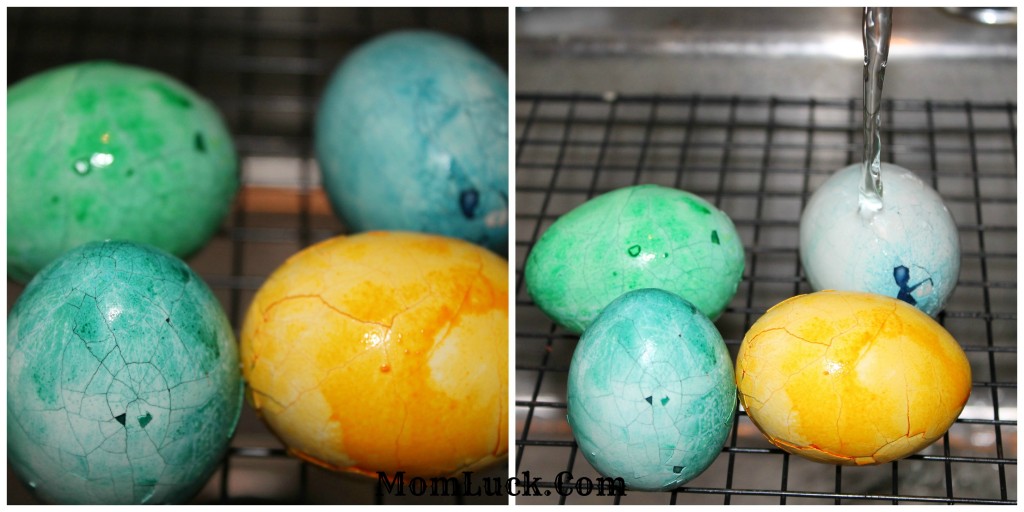
Now place 1 egg at a time into each sandwich bag. Add about 7-8 drops of food coloring onto the egg and seal the bag. Now massage the dye over the egg until fully covered. Leave the eggs in the bag for 30 minutes to the let the dye set.

Here are some really fun Food Coloring colors that are hard to find in your local grocery stores. I love the bright pastel colors that are perfect for Easter.
Bright Colored Food Coloring Bottles
Set the Colors with Vinegar
After 30 minutes rinse your eggs off with water and remove all of the excess food coloring. Now pour a little bit of vinegar over each egg to set the colors.
The Big Marbled Easter Eggs Reveal
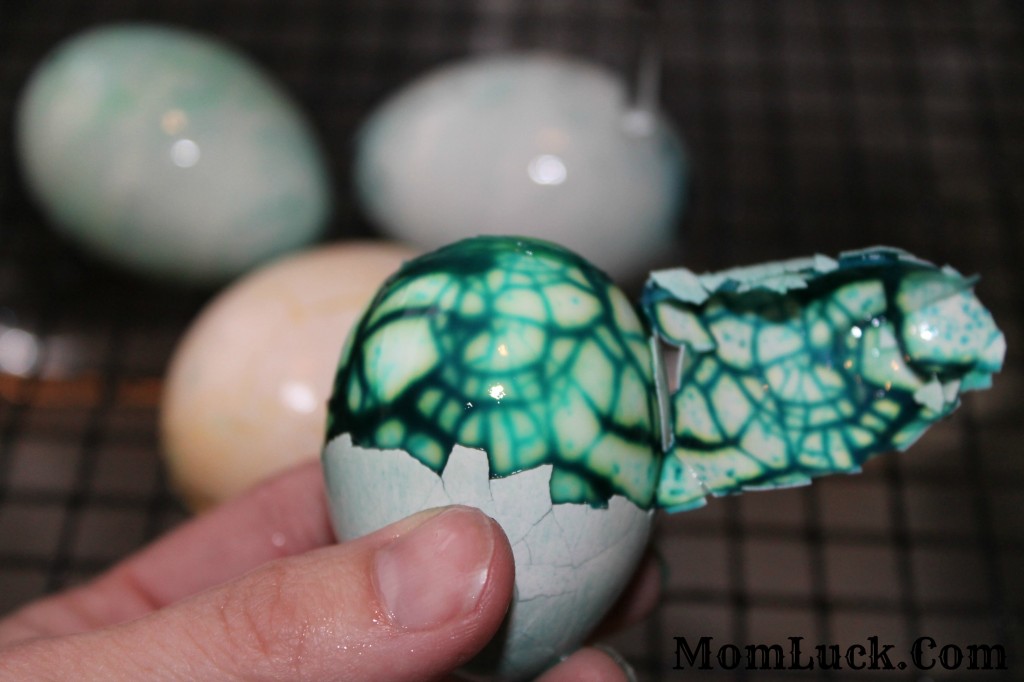
Next dry your eggs off and get ready for an extra cool surprise! Crack the eggs open and look what’s inside.
Making Marbled Easter Eggs Is So Much Fun
I just love these Marbled Easter eggs and my kids thought they were the coolest thing ever. I love experimenting with different colors each time we make these.
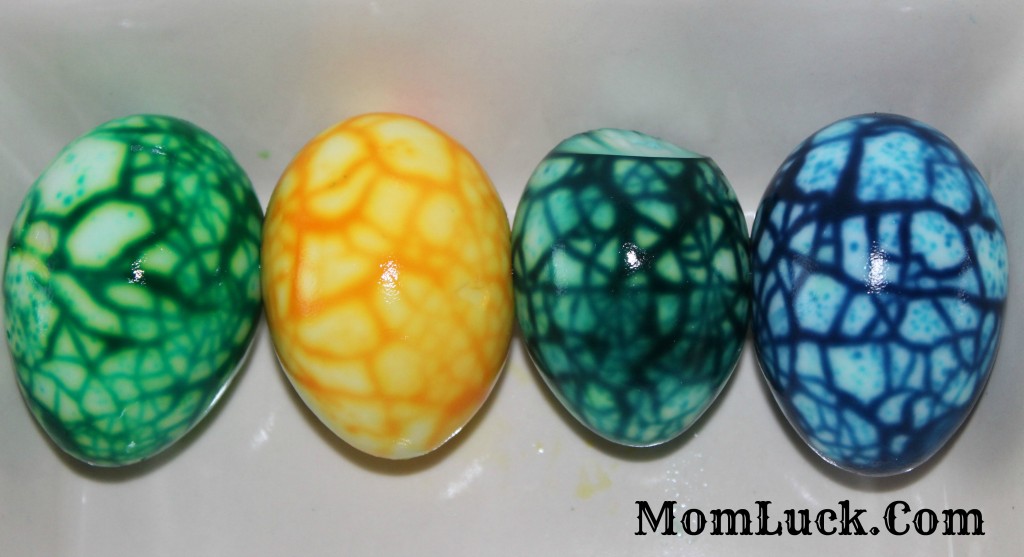 These Marbled Easter eggs are so easy to make and a fun Easter activity for kids. I am thinking about making a batch of these and turning them into deviled eggs for all of the kids on Easter. Hope you enjoy! If you make these send me a picture, I would love to see how yours turns out.
Pin It For Later:
